Last updated on: April 24, 2022
Inspection and Testing Procedure of Drainage Piping after Installation | Welding Techniques
In this article today we will talk about the Inspection and Testing Procedure of Drainage Piping | Plumbing Work Method Statement | Water Pipe Installation | Drainage Pipe Installation | Inspection Procedure of Drainage Piping | Testing Procedure of Drainage Piping | Air Test for Drainage Piping | Water Test for Drainage Piping | Drainage Testing Methods
Inspection and Testing Procedure of Drainage Piping after Installation:
1. Piping Inspections:
- The pipes shall not be enclosed, covered or put into operation until it has been inspected and approved by authorities having jurisdiction.
- Before testing all pipes should be cleaned and prepared thoroughly, obstructions
removed by rodding the stack with drain rods of suitable diameter. - After the installation is completed the site engineer shall prepare a Request for Inspection and submit to the Engineer.
- Below specified tests shall be performed in the presence of the authorities having
jurisdiction: Plumbing Work Method Statement- Roughing-in Inspection: Inspection of piping before concealing or closing-in after
roughing-in and before setting fixtures. - Piping tests: Final inspection to observe tests specified below and to ensure compliance with requirements.
- Re inspection: If the authorities having jurisdiction find that piping will not pass tests or inspections, required corrections shall be made and arranged for re inspection.
- Reports: Inspection reports shall be prepared and have them signed by authorities having jurisdiction. Plumbing Work Method Statement
- Roughing-in Inspection: Inspection of piping before concealing or closing-in after
- After Installation inspection shell be raised as per an approved ITP.
2. Piping Tests:
- The piping system to be tested shall be closed by plugging and blanking all openings in the system in an approved manner. Suitable plugs are inserted at the lower end of the drain or sewer and at the head of any connections. Drainage Testing Methods
- A suitable bend together with a vertical length of pipe is fitted at the head of the sewer or drain to provide the necessary test head. The system then filled with water.
- So ensure that all piping and joints are no leak. During the water test, precautions should be taken to prevent any movement of the drain or sewer.
- All ends shall be plugged after completion of test to protect from debris.
- After successful testing & Inspection of pipe work, covering of pipe work can proceed as
per approved drawing details. - Ensure LOTO procedure to be followed and implement comprehensive logout & tag out during execution of work. Drainage Testing Methods
2.1 Air Test:
- Air Test should be as per project specification section 15410 para 0-9
- The piping installation shall be tested section by section as the work proceeds.
- Seal pipe open ends of the pipe section with appropriate size drain test plug.
- Fit test nipple to one of the drain test plugs.
Connect rubber hose via *Y’ piece to nipple, ‘ll’ gauge and hand bellows. - Fill ‘U’ gauge with water to ‘zero’. Air Test for Drainage Piping
- Pipework systems shall be air tested at a pressure equal to 75 mm water gauge for a
period of 15 minutes. Squeeze the hand bellows gently until the level reaches 38mm on
the open side of the gauge and the lower limit below zero on the closed side. - The water level in the ‘U’ gauge shall remain constant for a period of 3 minutes, after
allowing a suitable time for stabilization of air temperature. - If the water in open end column drops within the specified time the pipe section is leaking.
- The location of leak shall be identified and the leaks shall be rectified and test procedure
is carried out again. Air Test for Drainage Piping

2.3 Water Test:
- The water test shall be carried out after completion of roughing-in.
- The test shall be carried out by inserting test plugs in the low end of the drains and by
filling the system with water to the point of overflow but not less than 3mtr head of water. - Precautions shall be taken by strutting or otherwise to prevent any movement of the drain during testing.
- After allowing a suitable time for absorption of water by joints or pipes, the water level
shall be topped up to the required level before the test is commenced. - The test shall be commenced as soon as practicable after installing but the pipes shall be
filled for approximately one hour before test readings are taken. - The test shall last for 30minutes.
- The pipe section under test shall deem to be passed the test if the water level doesn’t
drop during the period of test. - If the water level drops, then the leaks to be identified and rectified and whole test procedure to be repeated until satisfactory test results are observed.
2.4 Repair Work:
- Verify the existing piping visual or testing if have any defect then do the repair work.
And reinstate piping line as per installation procedure - Detection of pie failure
- Notification of interruption in Drainage piping and related issues
- Location and demarcation
- Repair planning
- Repair work: Selection of most appropriate method for repair
- Testing of repair
- Restoration
- Completion
- First of all estimate all material related to the repair segment. And arrange the same approved material as per approved project spec and drawing.
- MIR should be done before using the material.
- After approved of MIR transfer the materials to the site.
- Remove damage material and clean the of old material location.
- Make the joint preparation on pipe at damage pipe if required.
- Install the new materials as per drawings.
- After installation make test if required and coordinate with QC for inspection and approval from consultant.
3. Health & Safety Risk and Control:
- Ensure work permit and supporting documents i.e. RAMS are signed and approved prior
commencing to activity. - Approved RAMS to be made available at the site and Job Specific hazards and control
measure to be communicated to all personnel involved in the job. - Ensure that all PPE is assessed for suitability for job, limitations, capability, and compatibility with other PPE.
- Approved RAMS to be made available at the site and Job Specific hazards and control measure to be communicated to all personnel involved in the job.
- Ensure workers were trained about manual handling technique.
- Avoiding unnecessary heavy manual handling of materials use mechanical equipment.
- All personnel shall attend safety induction/training prior to start any job at site.
- Pre-job STARRT/TBT meeting shall be conducted by job supervisor to brief workers about job specific hazards.
- Conduct site inspection to ensure access/egress is adequate for the task activities. Maintain good housekeeping of the work area.
- Lone working is not allowed.
- Ensure work area housekeeping is properly maintained.
- Use correct tools for the job. Do not use a tool or attachment for something it was not
designed to. Ensure tools undergone inspection by a competent person and record must
keep. Colour coded as required. - Follow LOTO procedure strictly when needed – when required.
- Only competent/authorized person shall be assigned for the task.
- Emergency evacuation routes and procedure shall be reminded regularly to the site staff by construction and SHE team.
- Be familiar with emergency response procedure
- Any obstructions from pathways must be removed.
- Emergency contact lists shall be posted at site.
OTHER POSTS:
-
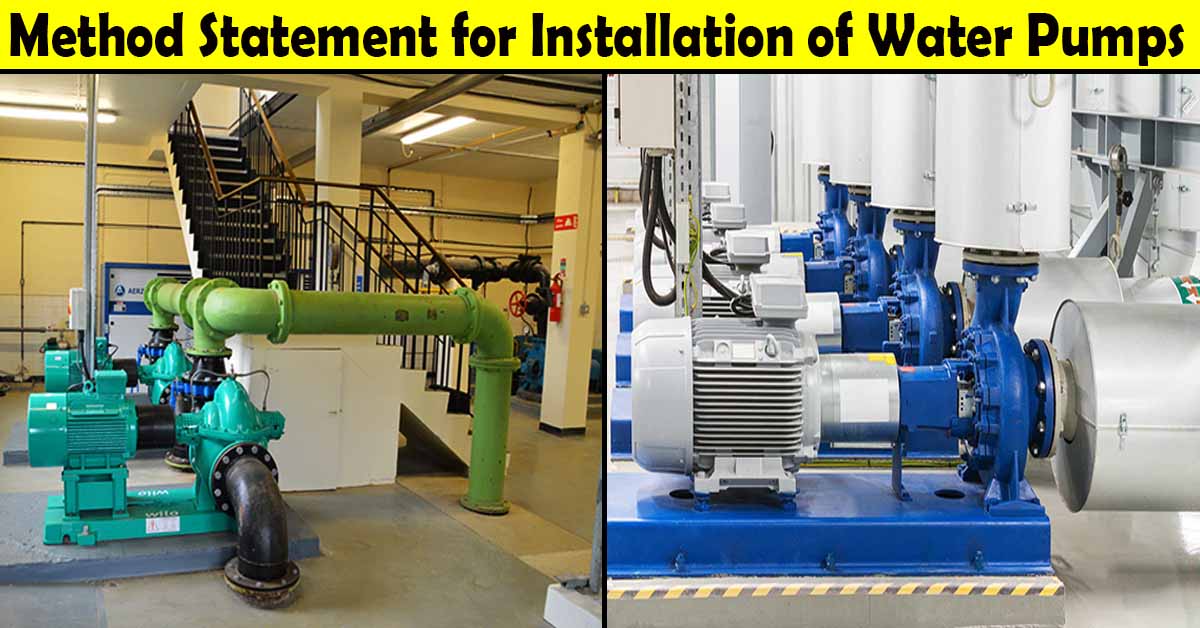
Method Statement for Installation of Water Pumps
-
Method Statement for Welding Works | Welding Techniques
-
Method Statement for Installation of Drainage Piping System
Conclusion:
Full article on Inspection and Testing Procedure of Drainage Piping | Plumbing Work Method Statement | Water Pipe Installation | Drainage Pipe Installation | Inspection Procedure of Drainage Piping | Testing Procedure of Drainage Piping | Air Test for Drainage Piping | Water Test for Drainage Piping | Drainage Testing Methods Thank you for the full reading of this article in “QA QC in Construction” platform in English. If you find this post helpful, then help others by sharing it on social media. Please share this article on social media for future uses.